Data integration
Users with administrative rights can use Data Integration to retrieve data from different sources: in the cloud or on-premises. With Data Integration, data can be retrieved from text and Excel files, databases, and ERP systems. To learn more about Data Integration, see the Data Integration Help.
Access to data integration
-
Log in to Financial Consolidation.
-
Click
 , the Data Integration icon, located at the top right.
 New!
New!Portal customers: Click
 , the Prophix Apps icon, located at the top right. Then, click Data Integration.
The Data Integration page opens in a new tab in your browser:

Data integration workflow
For detailed instructions on the workflow to follow in using Data Integration to move and manipulate your data, see Data Integration Workflow section of the Data Integration Help.
The basic Data Integration workflow is as follows:
-
Define sites and connections.
-
Create a job to transfer data from source to destination.
-
Run the job. You have the options to run the job in Data Integration or trigger it from Financial Consolidation.
-
Monitor your jobs, cancel jobs if needed, and review job logs.
Run a job from Financial Consolidation
In Financial Consolidation you can use the Job Schedules menu to set up a process that runs your Data Integration job.
-
In Financial Consolidation, click
 Automation > Jobs > Schedules.
 -
Click
 to create the job.
 -
From the Job drop-down list, choose Data Integration.
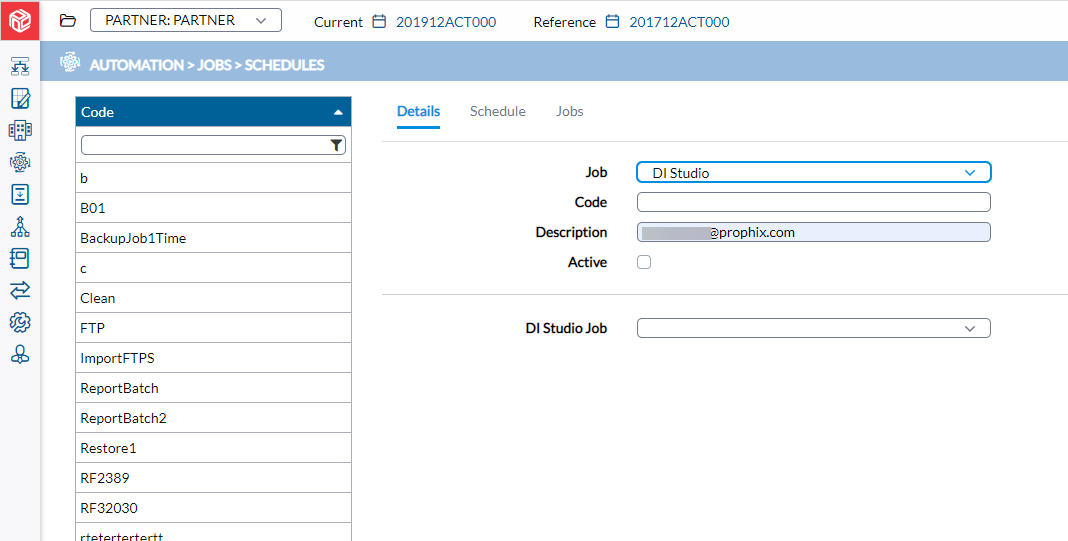
-
Enter a unique Code for the job.
-
In the Data IntegrationJob field, select the job (from Data Integration) you want to run.
-
You have these options:
-
To run the job immediately select
 and click
  .
. -
To run the job at a later time, proceed to the Schedule tab and schedule the job. See Data Integration Job in Job Schedules.
Tip: If the Data Integration Job runs successfully (you can check for the status of the job on the Jobs tab of the Job Schedules page), it is confirmation that the data from the table in the source has been moved to the assigned table in the staging database.
The next thing to do is to create a job to move the data from the staging environment into Financial Consolidation.
-
-
Go to
 Transfers > Data > Define File Structure > Import to create a job to move the data from staging into Financial Consolidation.
 Note: If you need to map the data coming from the staging table to the Financial Consolidation database, go to
Transfers > Data > Define Mapping Tables. See Define Mapping Tables for more details.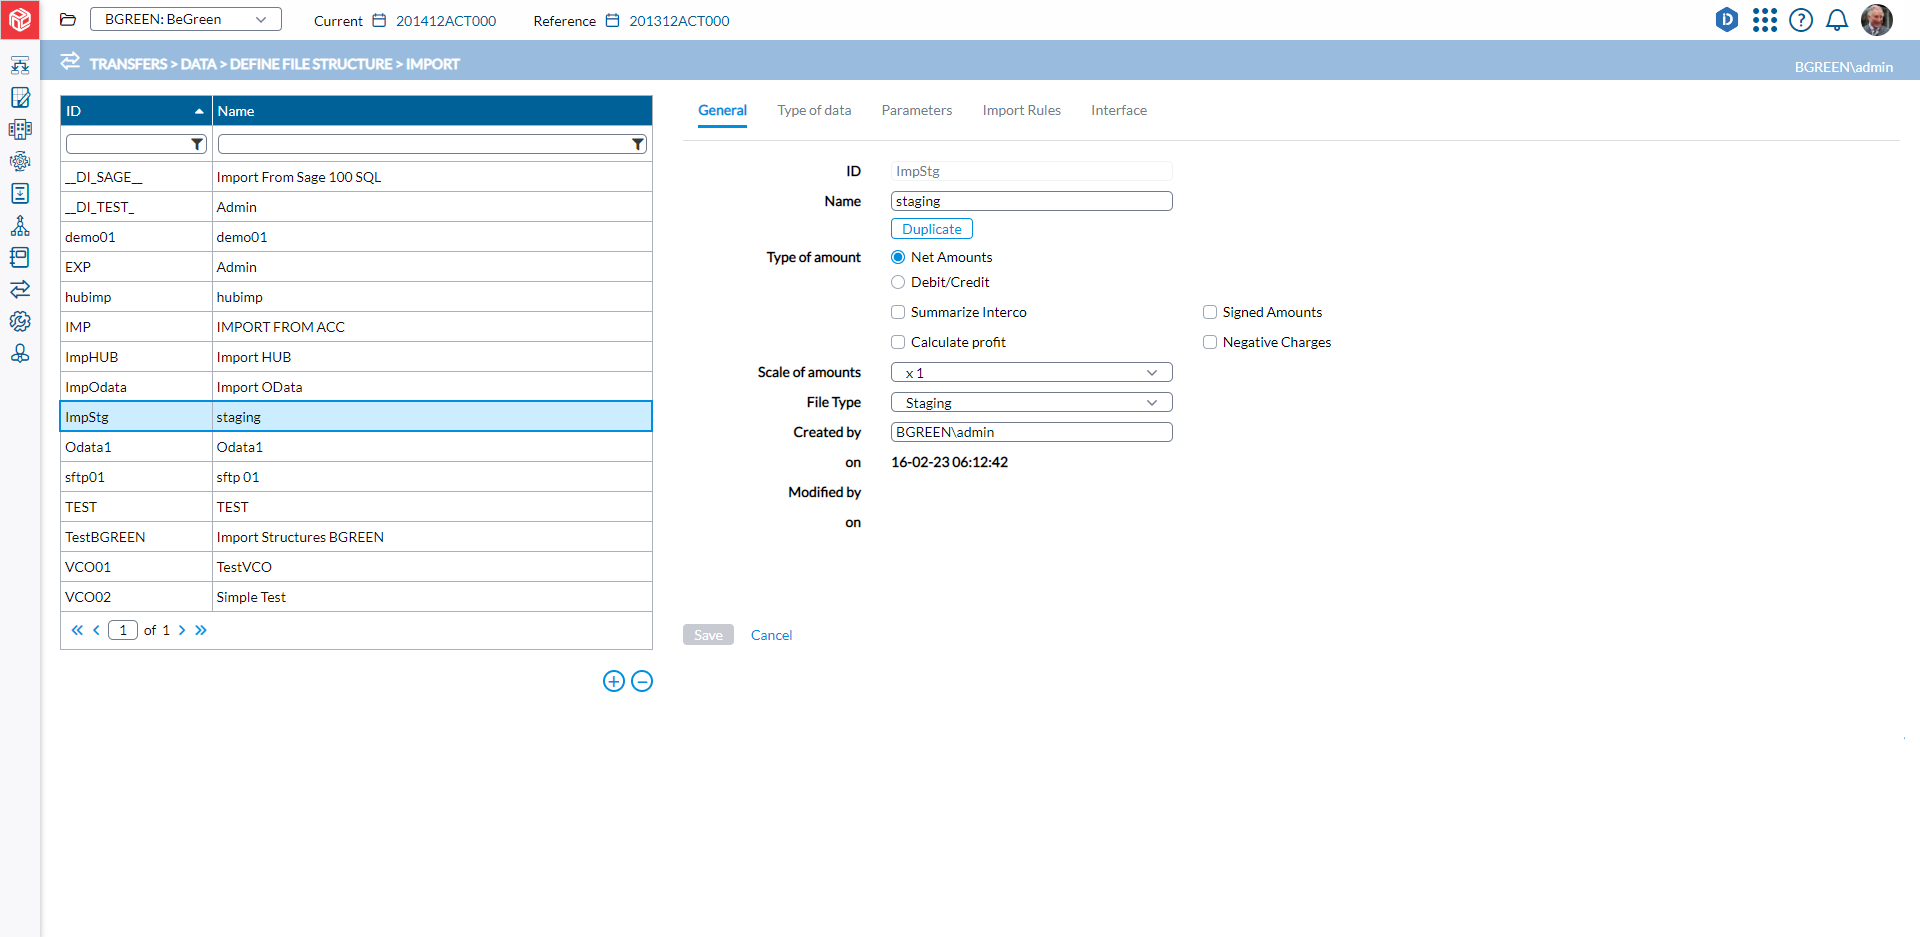
-
Click
to create a new job. -
On the General tab, ensure that the File Type selected is Prophix Staging.
-
On the Parameters tab, from the Available tables field, select the specific table in the staging environment into which the data was moved.
-
Click
.
-
-
Next, go to
Automation > Jobs > Schedules to run the job,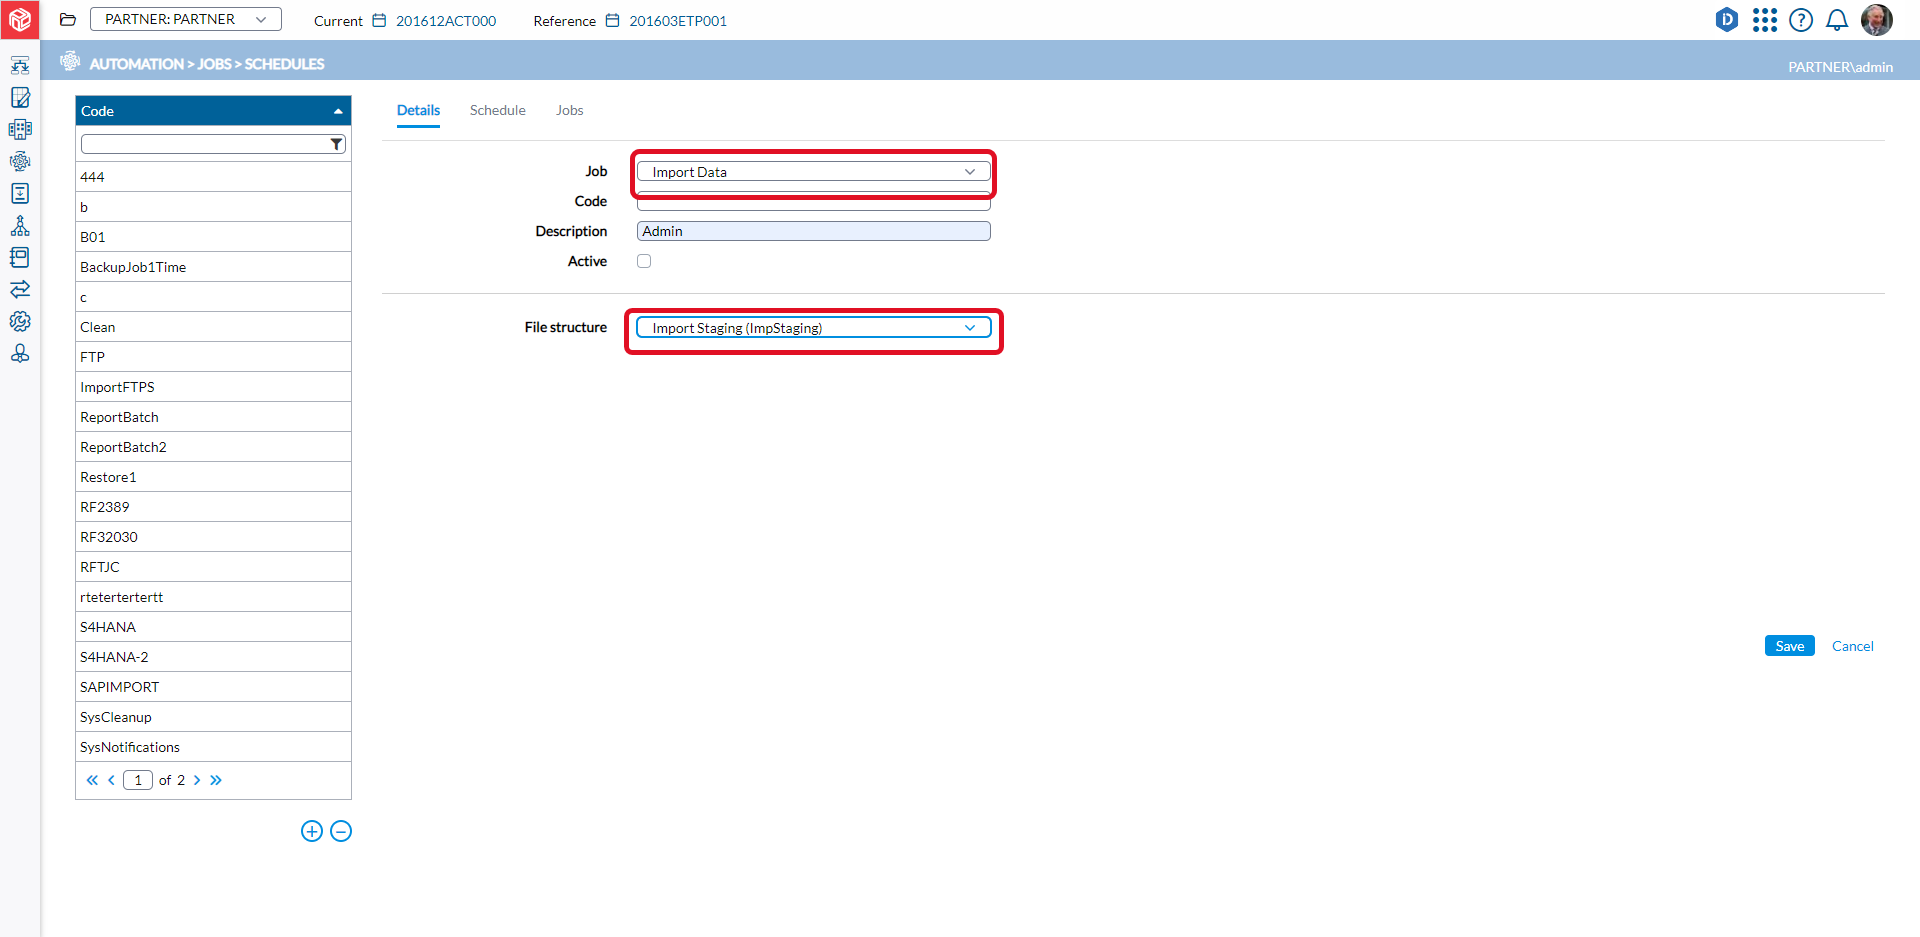
-
Click
to create the job execution. -
In the Job field, select Import Data.
-
Enter a unique Code for the job and in the File structure field, select the job you created for it on the
Transfers > Data > Define File Structure > Import page . -
You have these options:
-
To run the job immediately select
and click . -
To run the job at a later time, proceed to the Schedule tab and schedule the job.
-
-
After the Import Data job runs successfully, depending on your setup, the data is either imported into the application or goes to the Hub for you to authorize the package before the data is imported into Financial Consolidation. If the package goes to the Hub, go to ![]() Transfers > HUB > Authorization to locate and authorize the package.
Transfers > HUB > Authorization to locate and authorize the package.
Jobs
Export consolidated data to the Prophix Cloud
With the Export to Reporting Solutions job, users can export consolidated data from Financial Consolidation to the Prophix Cloud where it can be imported into other applications for detailed analysis and reporting. For more information, refer to Export Consolidated Data to the Prophix Cloud article.
Export data for external applications
The Export for External Applications job allows customers to access and process data stored in the Financial Consolidation database within their own applications. For more information, refer to the Export Data for External Applications article.
Use the Financial Consolidation agent
Use the Financial Consolidation agent as a source to pull complete tables from Prophix One Financial Consolidation into any other Data Integration destination (except Power BI).
The Financial Consolidation agent cannot be used as a destination (the agent cannot write back to Financial Consolidation). See Financial Consolidation Agent for more detailed instructions.