Move consolidated data to reporting solutions
Consolidated data can be moved from Financial Consolidation to our Data Integration database, making it readily accessible for import into the Financial Planning & Analysis (FP&A) application and other reporting solutions. This data mobility is a fundamental objective of the Prophix One Platform, and it is accomplished by using Data Integration to retrieve consolidation data and move it to the Staging Database in the Prophix Cloud, facilitating easy importing for users of FP&A and other reporting solutions.
What type of data can be exported?
These four types of data can be exported:
-
Consolidated data
-
Dimension structures
-
Local data (Pre-consolidated data) (*)
-
Detailed transactional data (Drill-across data)
Caution: During the transfer of detailed transactional data, there is a possibility of overwriting data in all tables. To retain past transactional details, export data from multiple periods and use that as a safeguard.
-
CashFlow
-
Consolidated data by POV
-
All dimension groups
Export consolidated data
-
Go to the
 Automation > Jobs > Schedules page.
 -
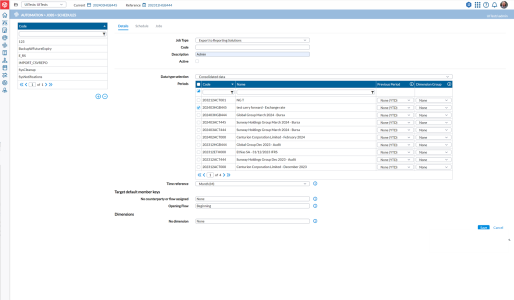
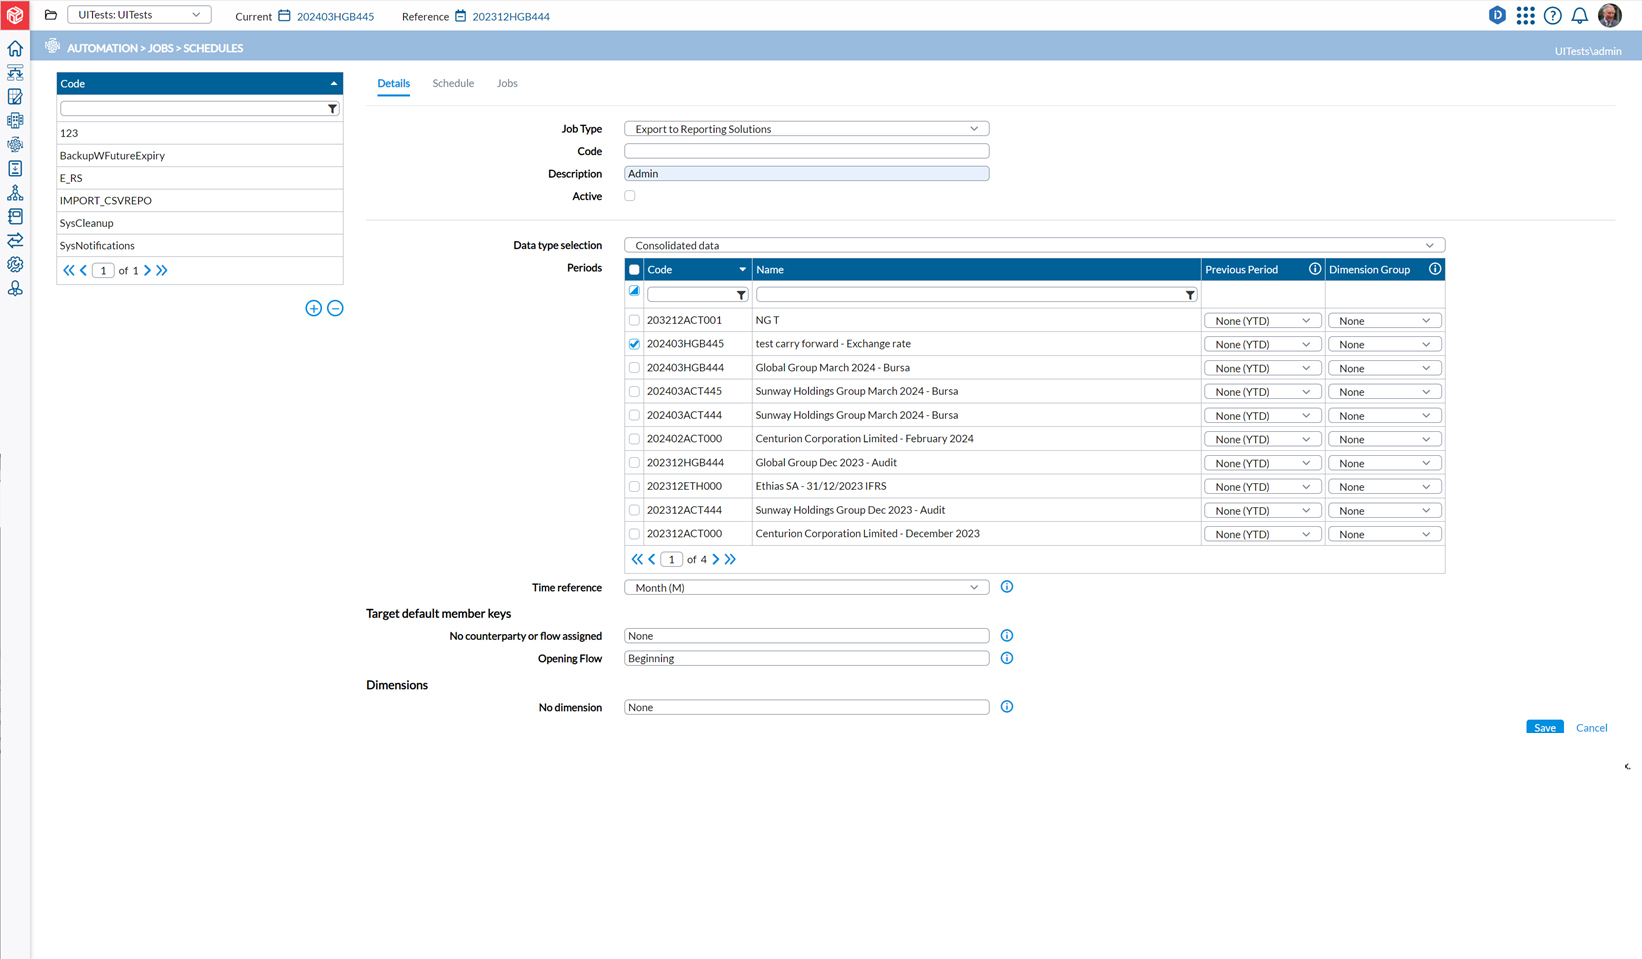
In the Job Type field of the Details tab, select Export to Reporting Solutions.
-
In the Data type selection field, select the type of data you want to export.
Note: When Data Type selection is Consolidated Data or Local Data, an Advanced Settings section is available at the bottom of the page. Use this section to select export controls and manage which data elements are included in the export.
-
Choose periods from the Periods table.
-
To select all the periods, select this box:
 (on the table header, beside Code column).
-
-
Optionally, use
 (the toggle switch) as follows:
-
Click once to display only the selected periods.
-
Click again to display only the unselected periods.
-
Click once more to display all the periods (both selected and unselected).
-
-
Provide the information required in all the other fields.
Note: This icon,
 , now appears beside every field that has a tooltip. Click on the icon to display the purpose of the parameter and how it is used.
 -
Select an activation option:
- Active – When selected, the job runs immediately when you click
 .
.By default, the job uses the Fixed Time schedule, which triggers it to run right away.
-
To schedule the job for a specific time instead, leave this option unselected.
-
 - Executes the job immediately without changing its existing schedule.
This option is useful when a job has a complex schedule but needs to be run manually.
It prevents users from modifying the defined schedule unnecessarily.
Clicking
performs the same action as using a fixed schedule. This option is disabled when the job is inactive.
Tip: If the DI Studio Job runs successfully (you can check for the status of the job on the Jobs tab of the Job Schedules page), it is confirmation that the data from the table in the source has been moved to the assigned table in the staging database.
- Active – When selected, the job runs immediately when you click
-------------------
(*) This is applicable only when exporting to a reporting solution. On the System Configuration page, the administrator can switch between Local Data and Locally Adjusted Data with the L Journal Entry Type option.
By default, the L Journal Entry Type option is not selected, and the application uses Local Data. However, when selected, the application uses Local Adjusted Data.
Export Cashflow information
-
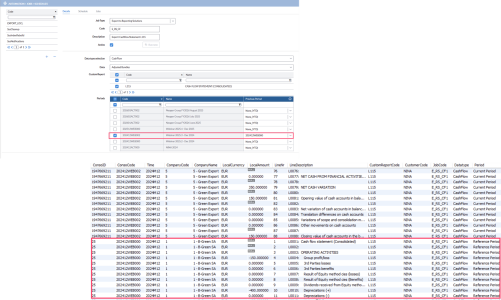
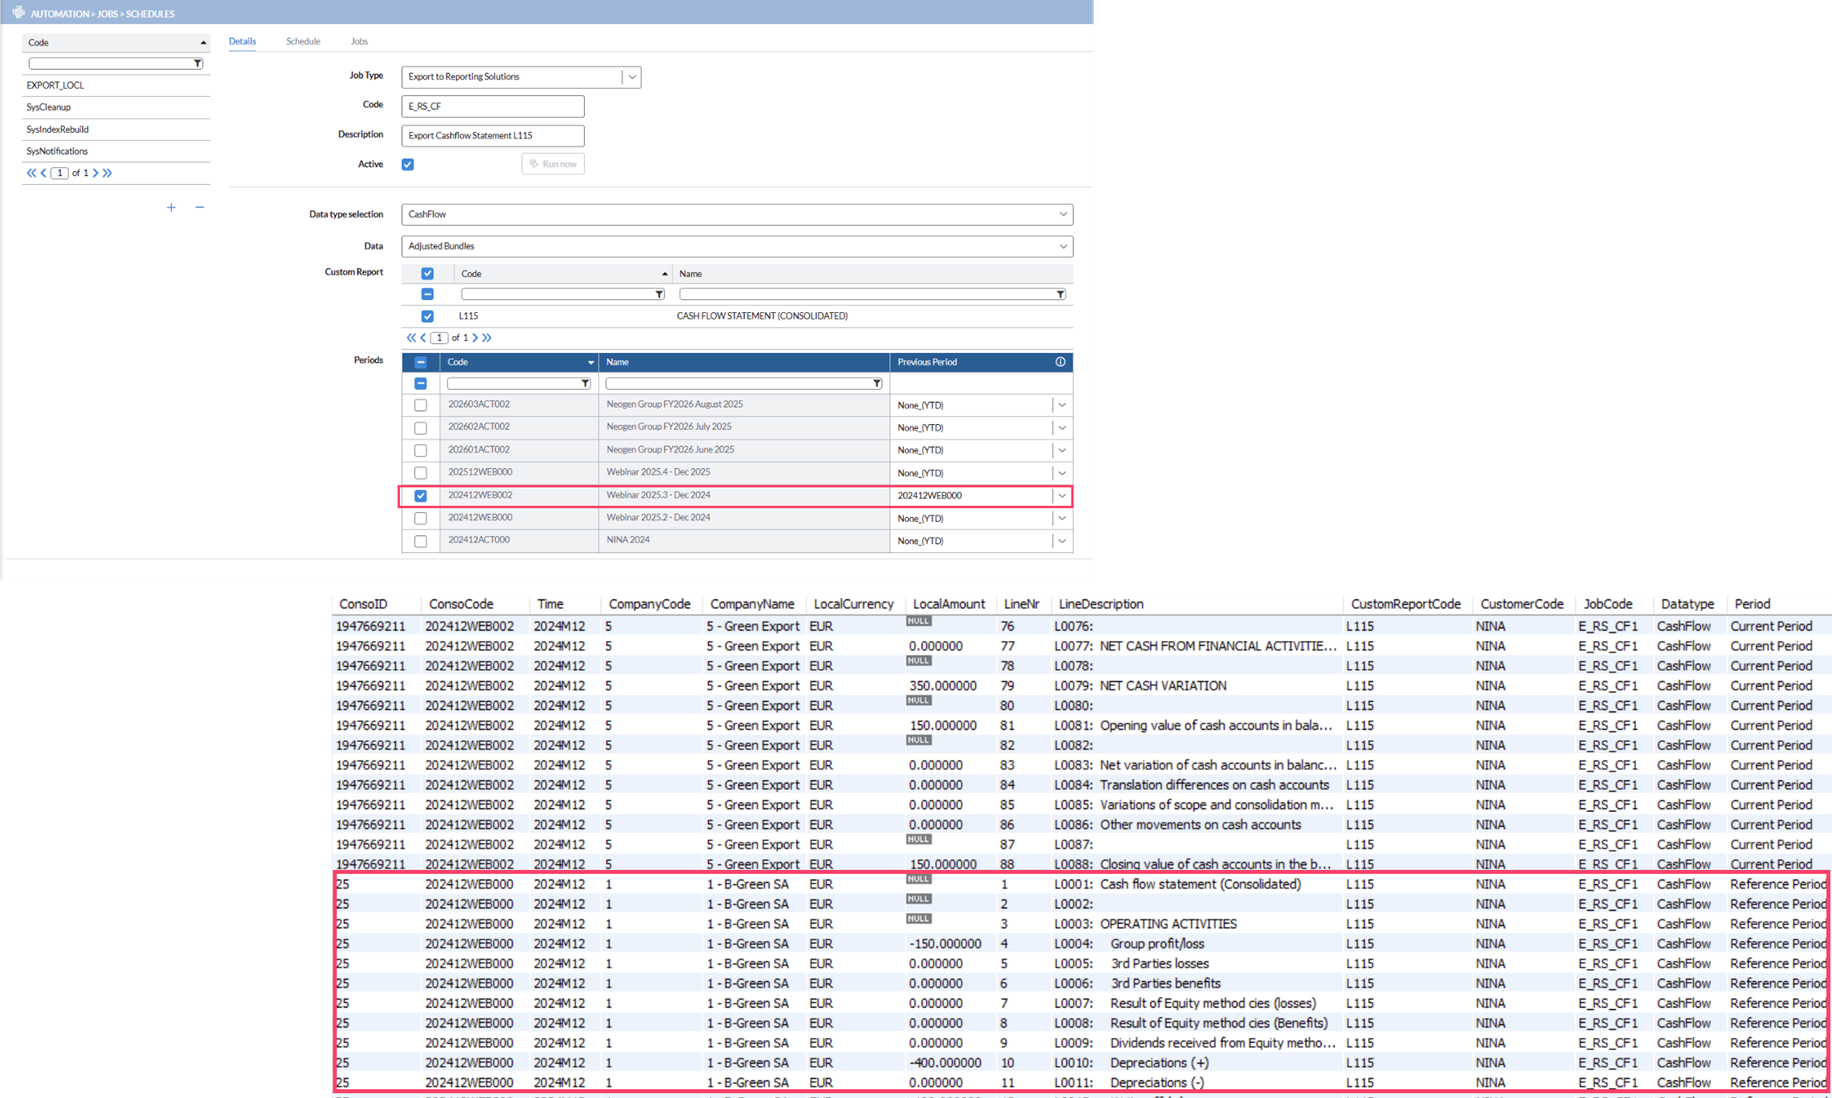
In the Data type selection field, choose CashFlow .
-
For Data, choose either Adjusted Bundles or Group Adjusted Bundles.
-
In the Custom Report section, select one or more cashflow-type reports to define the structure of the export.
Note: These reports are created
 Reports > User Reports > Define User Reports.
 -
Choose one or more time Periods for which you want to export the data.
Note: The selected Previous Period is exported as Reference Period in the Period column, with all related amounts reversed.
-
Specify the Time reference: month or period.
The following shows the selected Previous Period exported as Reference Period in the Period column, with all related amounts reversed
Export Consolidated data by POV
-
In the Data type selection field, choose Consolidated data.
-
Choose one or more time Periods for which you want to export the data.
-
Select the Consolidated data by POV option.
-
Use the Point of View field and Target default member keys to configure the POV for the report.
Export all Dimension information
To export all dimension groups in a single job:
-
In the Data type selection field, choose either Local Data . or Consolidated data.
-
Choose one or more time Periods for which you want to export the data.
-
Click in the drop-down list of the Dimension Group column and select All.
Select export controls
You can control which data elements are included when exporting data to Reporting Solutions.
When Job Type is set to Export to Reporting Solutions and Data Type is Consolidated Data or Local Data, an Advanced Settings section is available at the bottom of the page (collapsed by default).
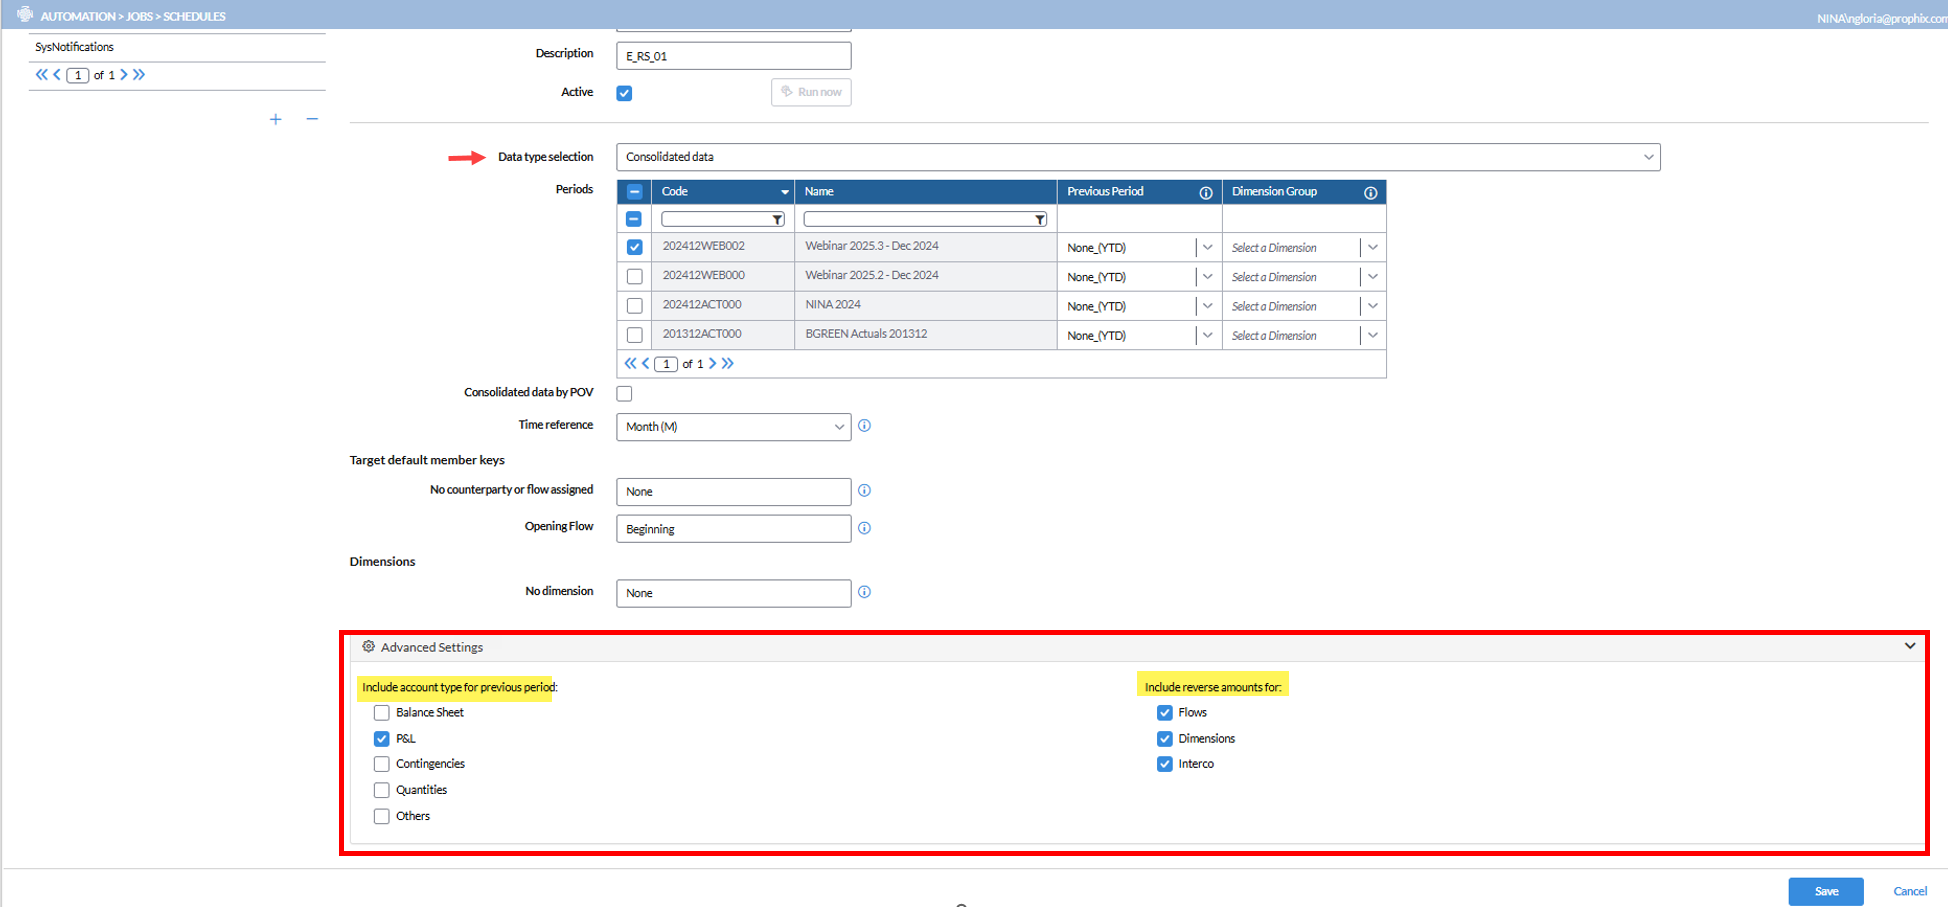
Advanced Settings
Advanced Settings allows you to manage which data is included in the export.
- Control export of previous period amounts by account type
You can select which account types are exported for the previous period:
-
Balance Sheet (cleared by default)
-
P&L (selected by default)
-
Contingencies (cleared by default)
-
Quantities (cleared by default)
-
Others (cleared by default)
Only selected account types are exported for the previous period.
Note: For existing jobs, all account types are selected by default to preserve current behavior.
-
-
Control export of reversed amount
You can select which data types include reserve amounts in the export:
-
Flows (selected by default)
-
Dimensions (selected by default)
-
Intercompany (selected by default)
Only selected data types export reserve amounts.
-
Job output
For detailed information about the output generated by the Export to Reporting Solutions job via the Staging Database, refer to Export to reporting solution job output.